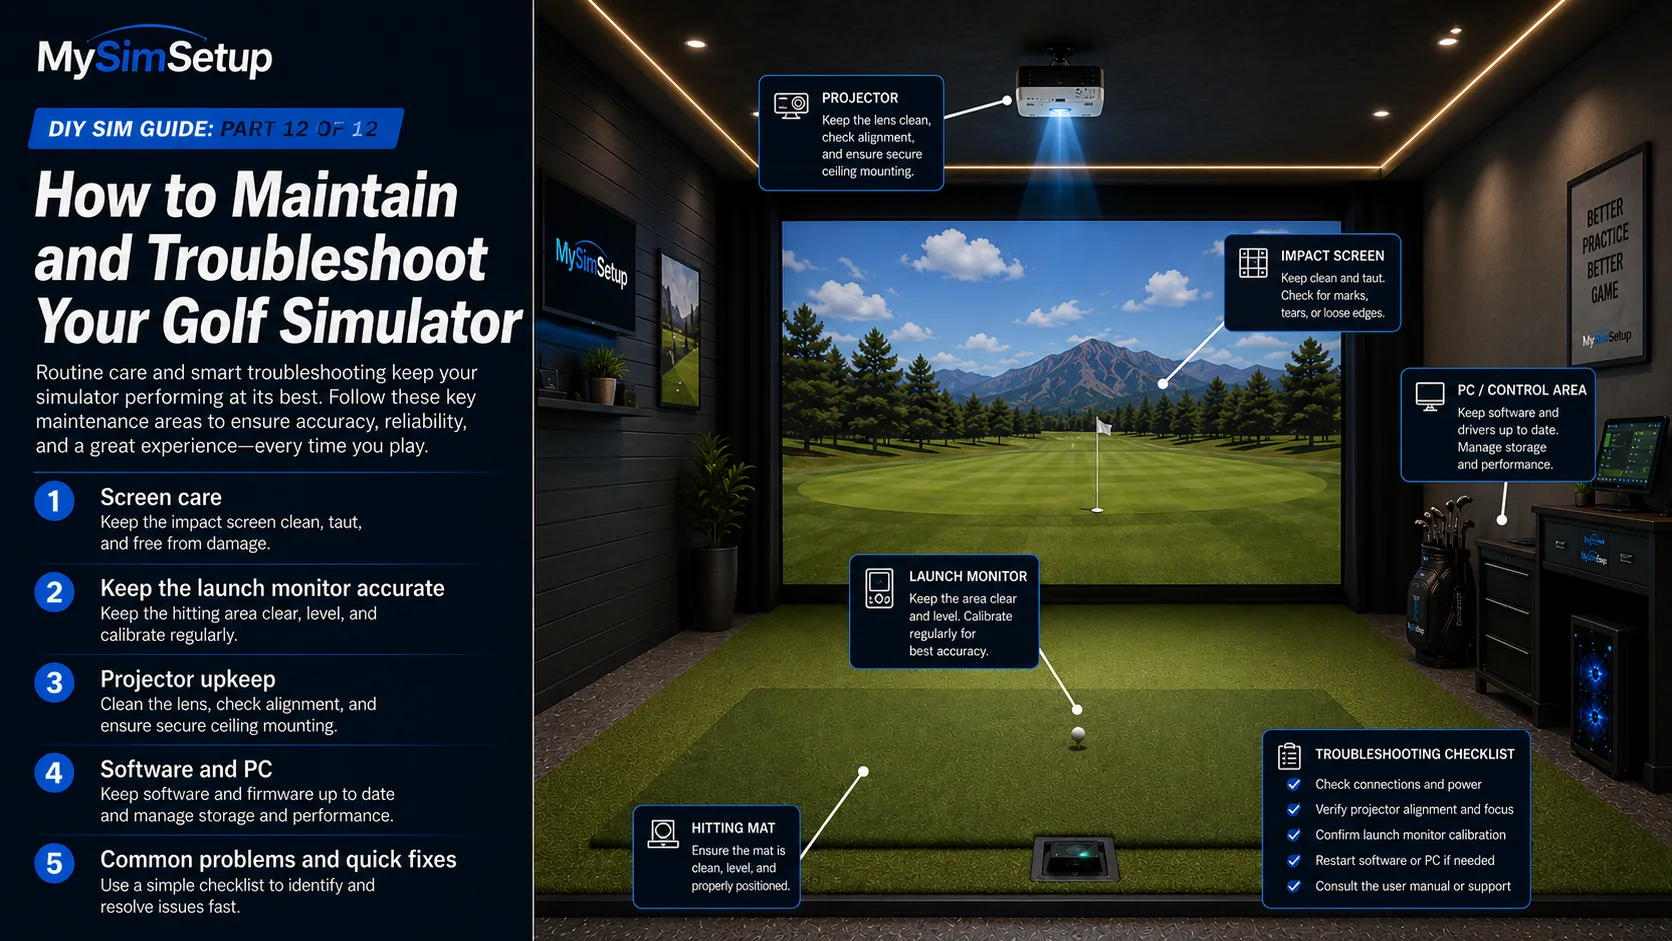
How to Maintain and Troubleshoot Your Golf Simulator
A simulator is a system of moving parts and software. A little routine care keeps it accurate and reliable for years, and a short troubleshooting checklist saves you when something drifts.
You built it, now keep it great. A simulator combines a physical impact system with precision sensors and software, and each part rewards a little routine attention. The good news is that maintenance is light and most problems have simple, repeatable fixes. This final chapter covers caring for your screen, keeping the launch monitor accurate, projector and software upkeep, and a quick-reference checklist for the handful of things that actually go wrong.
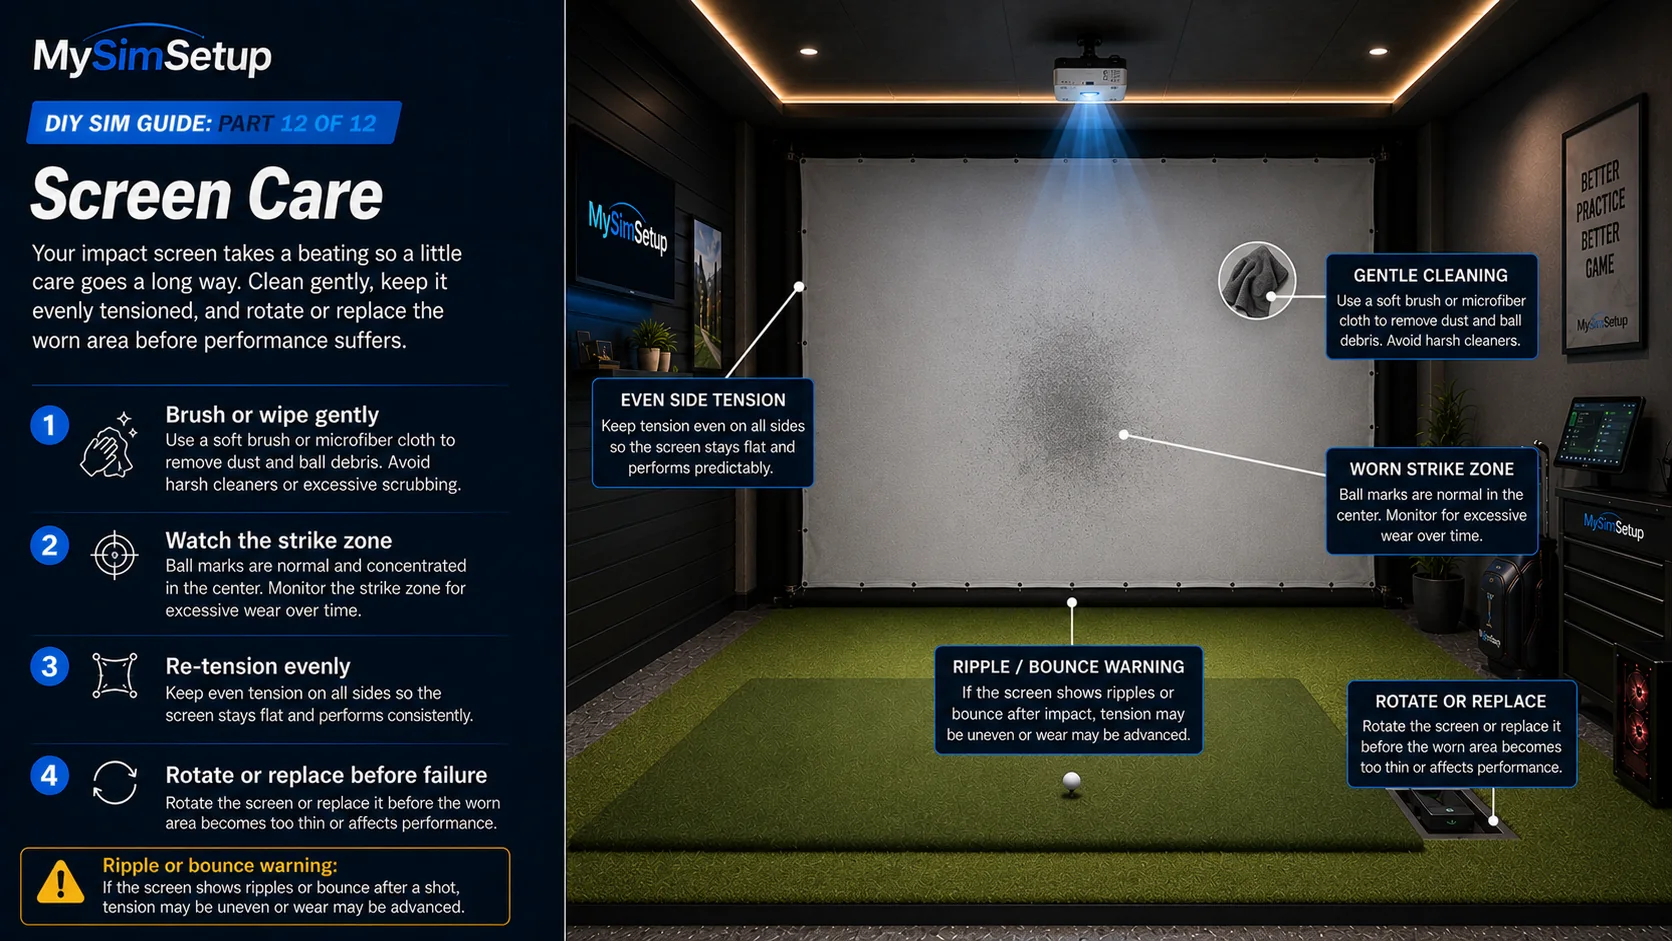
Screen care
Impact screens wear fastest at the strike zone, where the ball lands most. Ball marks are normal; brush or wipe them off gently as directed for your screen. Keep the screen properly tensioned as it breaks in and relaxes over time, and when the impact area thins or shows wear, rotate or replace the screen before it fails. Treated well, a quality screen lasts a long time.
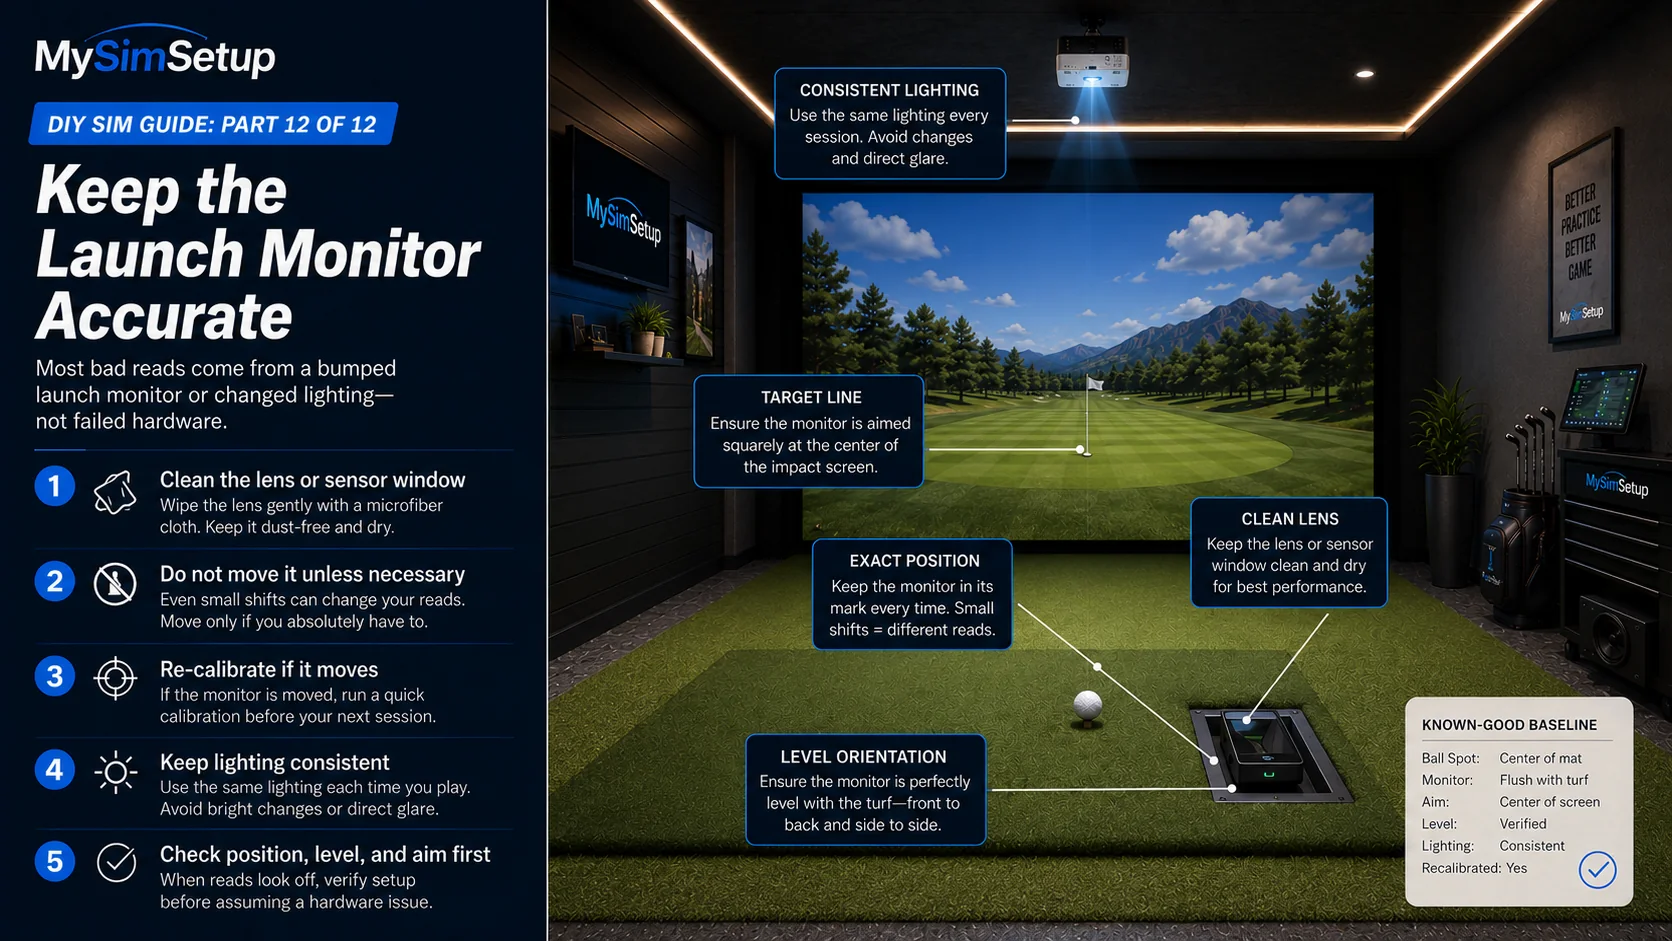
Keep the launch monitor accurate
Keep the lens or sensor window clean and free of dust, and try not to move the unit; if you do, re-calibrate. Install firmware updates when the manufacturer releases them, as they often improve accuracy and add features. And remember that camera-based units are sensitive to light: keep your lighting consistent so the unit reads shots the same way every session.
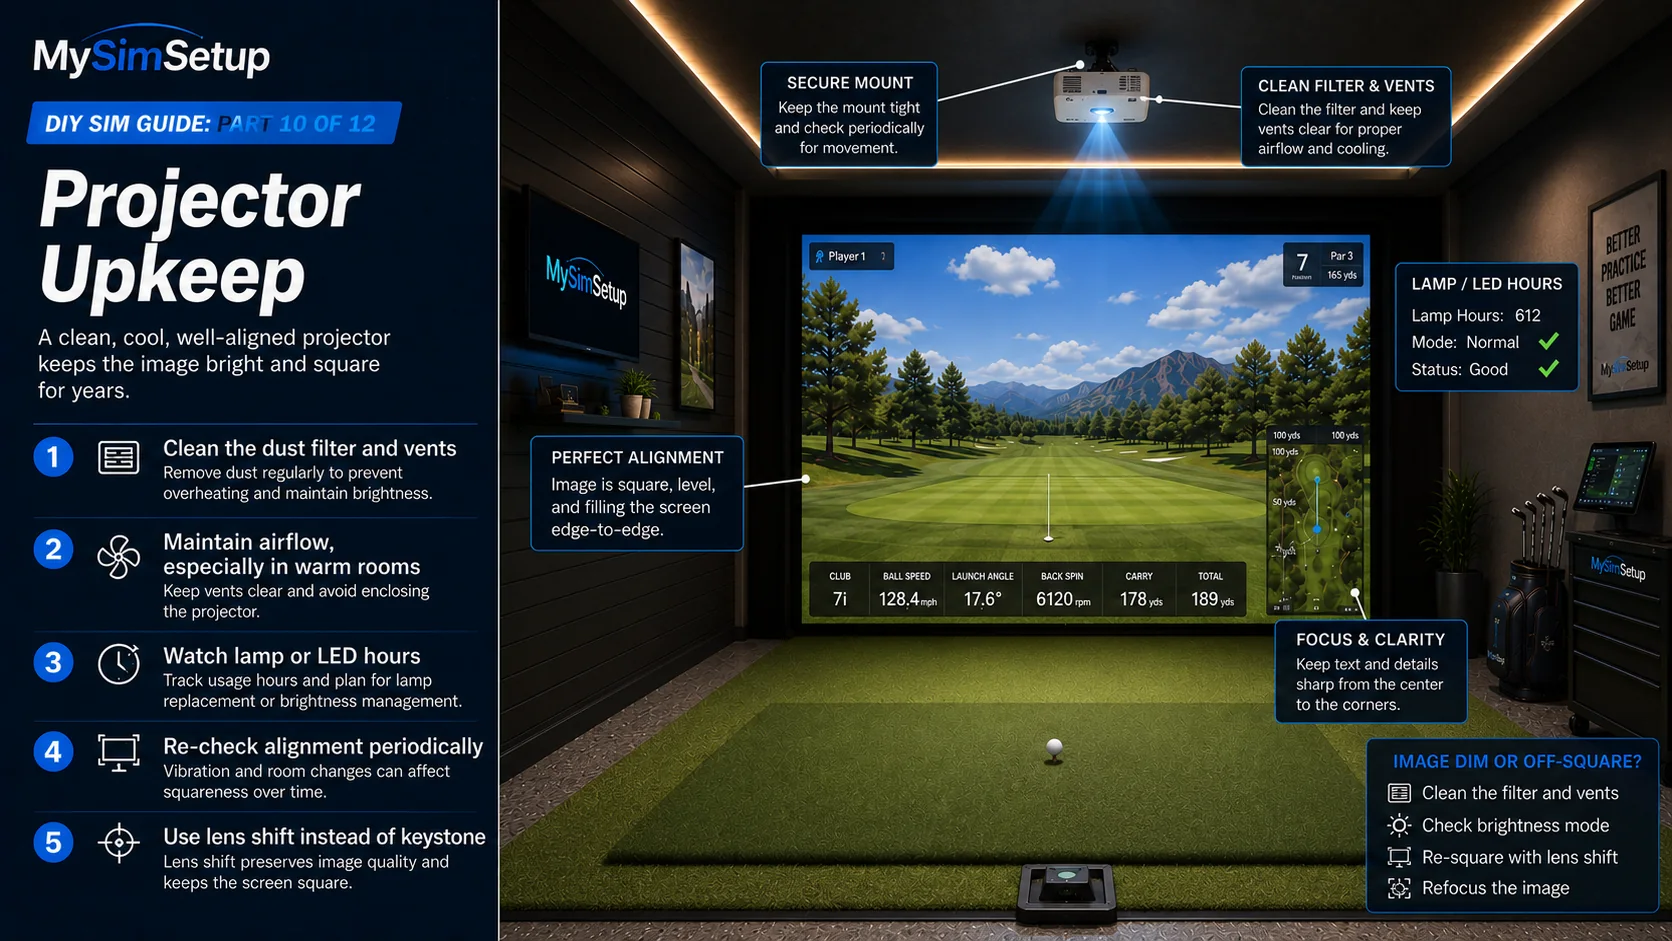
Projector upkeep
Keep the projector’s dust filter and vents clean and give it airflow, because a warm garage will heat it up. Watch lamp or LED hours and plan for eventual replacement, and re-check alignment periodically since mounts can shift slightly over time. A clean, cool, well-aligned projector holds a bright, square image for years.
Software and PC
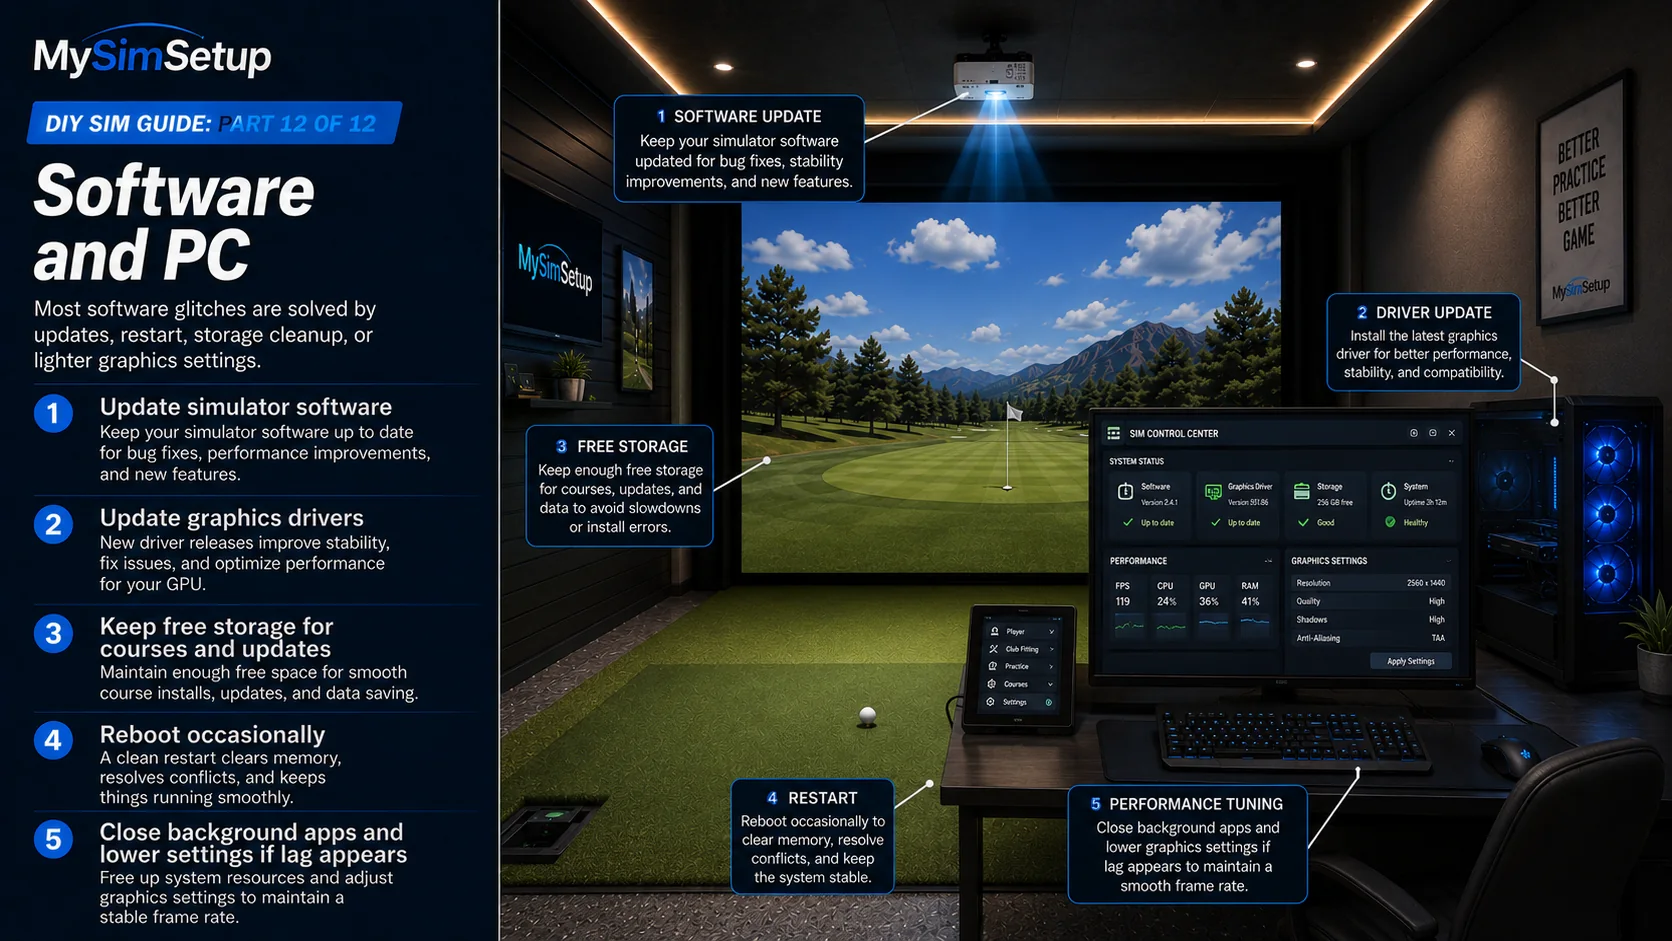
Keep your simulator software and graphics drivers updated, keep enough free storage for course libraries and updates, and reboot now and then to clear the usual gremlins. Most software glitches, whether stutters, missing courses, or connection hiccups, resolve with an update, a restart, or freeing up disk space.
Common problems and quick fixes
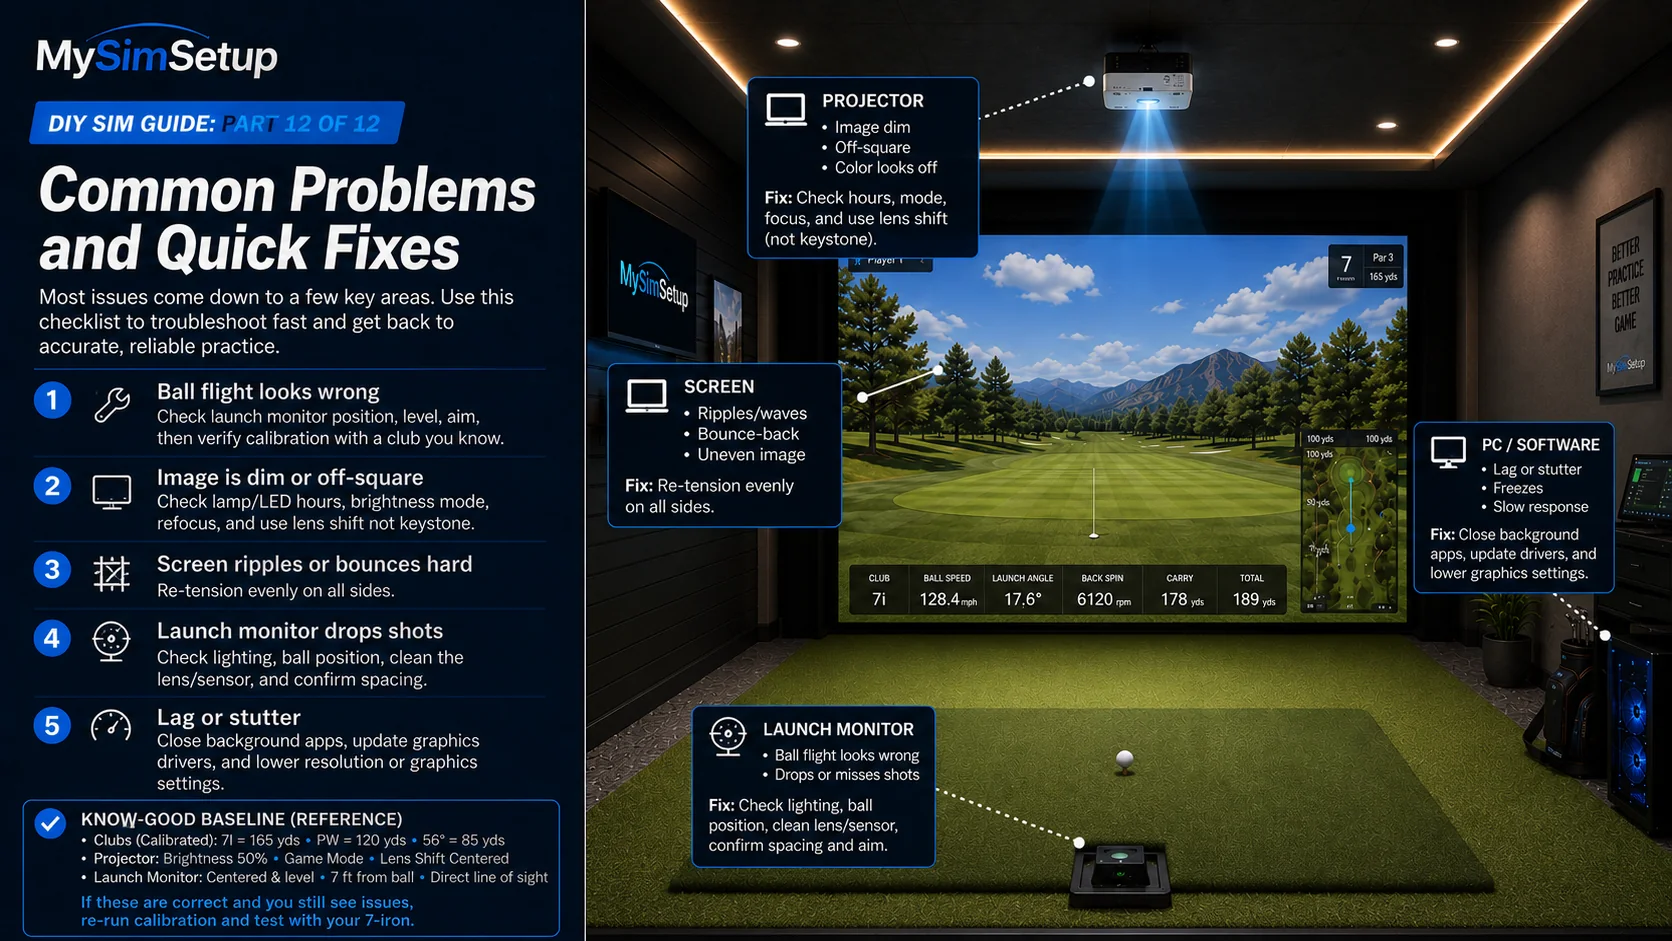
Ball flight looks wrong
Almost always a launch-monitor issue: check its position, level, and aim against the manufacturer spec, then re-verify your calibration with a club you know. A unit that got bumped or a stance that drifted is the usual cause.
Image is dim or off-square
Check lamp or LED hours for dimness, re-square with lens shift rather than keystone, and refocus. If it dimmed suddenly, look at the projector’s eco or brightness mode and its cooling.
Screen ripples or bounces hard
Re-tension the screen evenly on all sides. Ripples in the image and a loud, hard bounce both point to tension that has relaxed or was never even.
Launch monitor drops shots or will not read
Check lighting (especially for camera units), confirm the ball is in the expected position, clean the lens or sensor, and verify the unit has the spacing it needs. These four cover the large majority of read failures.
Lag or stutter
Point at the PC: close background apps, update graphics drivers, and if needed dial back the resolution or graphics settings so the machine keeps up with the software.
You built it, now play it
That is the full build: from an empty room and a tape measure to a calibrated, finished bay you can play year-round. You planned your space, set a budget, chose your launch monitor, framed the screen, dialed the projector, protected your body with the right mat, finished the room, matched your PC and software, assembled and wired it safely, calibrated it honest, and added the touches that make it yours. The last step is the best one: go play it, and share what you built.